
The Android operating system has come a long way and does provide a tone of features. Android smartphone is like a computer in your palm and can do almost everything that you were doing on your personal computer. Now when it comes to backup here is where the operating system goes down the lane. But for your ease, there are reliable third-party apps available that can automatically backup your smartphone data to Google Drive.
Sync Smartphone Data to Google Drive
- On your Android Smartphone, download and install “Autosync for Google Drive“. Don’t forget to read a similar article for auto syncing data to Dropbox.
- Now click on “Connect to Google Drive“.

- Upon clicking, you will be prompted to choose the Google account associated with your phone and the Google Drive account. Select and hit OK.

- Allow the permissions required to set up Google drive sync on the app.

- You have successfully connected your Google Drive account with the app. Now click on “Choose What to Sync“.

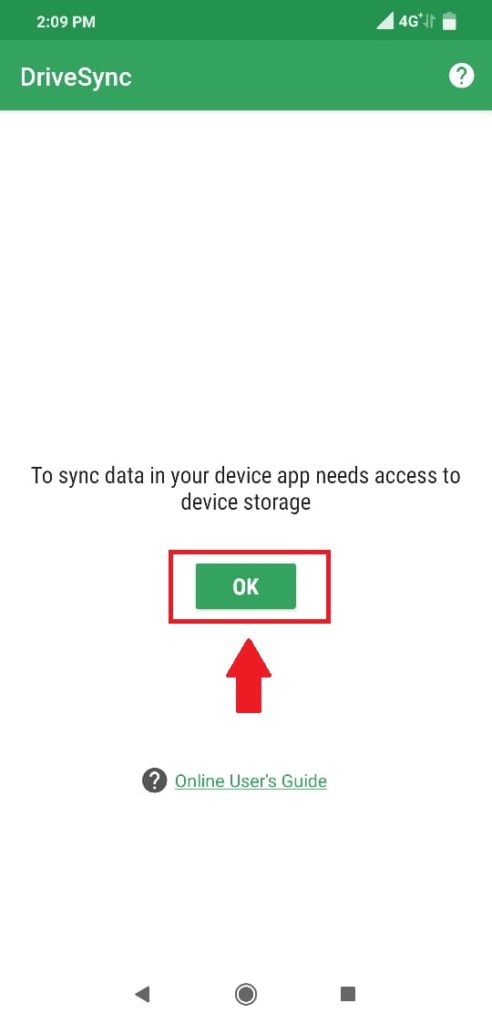
- Again allow permission for the app to access the internal storage of your phone.
- On the resultant windows, click on “Skip, don’t sync anything yet“. This will take you to the interface of the actual app. From there swipe to the right until you reach the “Synced Folders” head as shown below.

- Inside the tab, click on the green plus sign below. In the next page, first, select the folder in which you need to sync the phone’s data. Click on “My Files” and select the folder. If you do not wish to make then move ahead or go to Google Drive and make a folder you wish.
- Secondly, select the folder from your phone which you wish to sync with Google Drive. And thirdly select the Sync Method as per your preferences. Also, toggle on “Sync Enabled“.
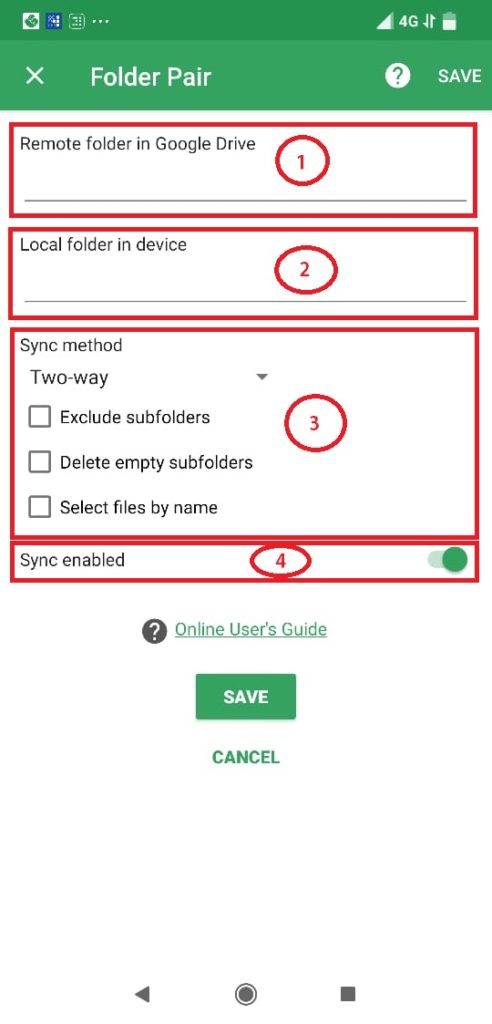
- Once you have selected and assigned al the fields, the page shall look like this.

- Finally, Click on “Save”. The Auto Sync feature will not do its job for you. Also, the free version can only sync a single folder. If you need multiple folders on a single Google Drive then you can do it by purchasing a one-time subscription for the app.
In case your auto-sync does not work, please follow the below steps.
- From the main screen of the app, click on three dots and select “Settings“.

- Inside the Settings panel, click on “AutoSync“.

- Under, AutoSync windows, change the settings as marked in the picture below.

